How to Make a Flower Press

I’ve been known to stack books all over the house to keep my flower pressings in, and I think my husband is on to me now. While I love the look of scattered towers of hardcovers, it was time for a flower press.
I’ve been wanting to test out a hand drill so that I can teach my son to use one, and this Garrett Wade drill was perfect! The project is really simple, but if you don’t have wood lying around and a miter saw, consider just buying some at a local hardware store and having them cut it.
Here is how to make a flower press at home:
SUPPLIES
- Two pieces of board that are the same size
- Drill
- 4 hex screws
- 4 wing nuts
- Cardboard
- Wax paper or parchment paper
INSTRUCTIONS
- Cut your board if need be, so that both pieces are the same size.
- Drill 1” in from each corner, a hole that fits your hex screws (a hole that is slightly larger is best)
- Place your hex screws in with the head on the table, popping out of the holes.
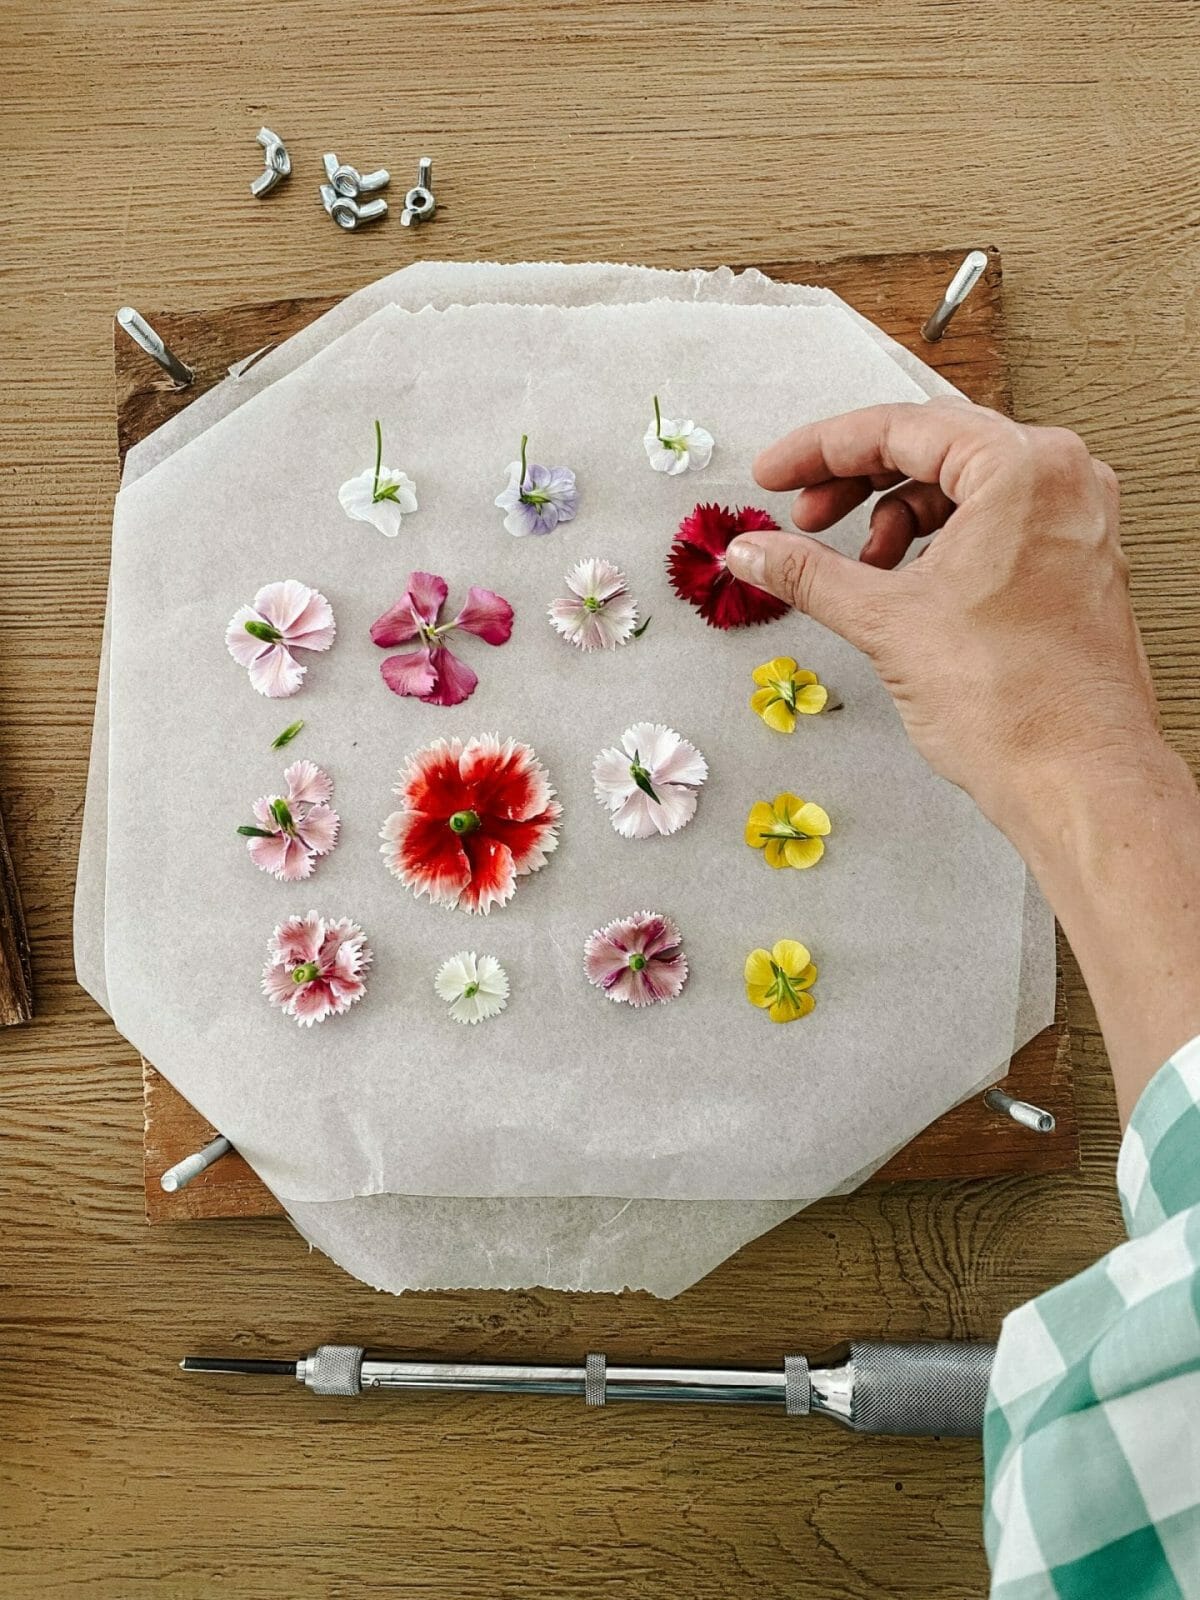
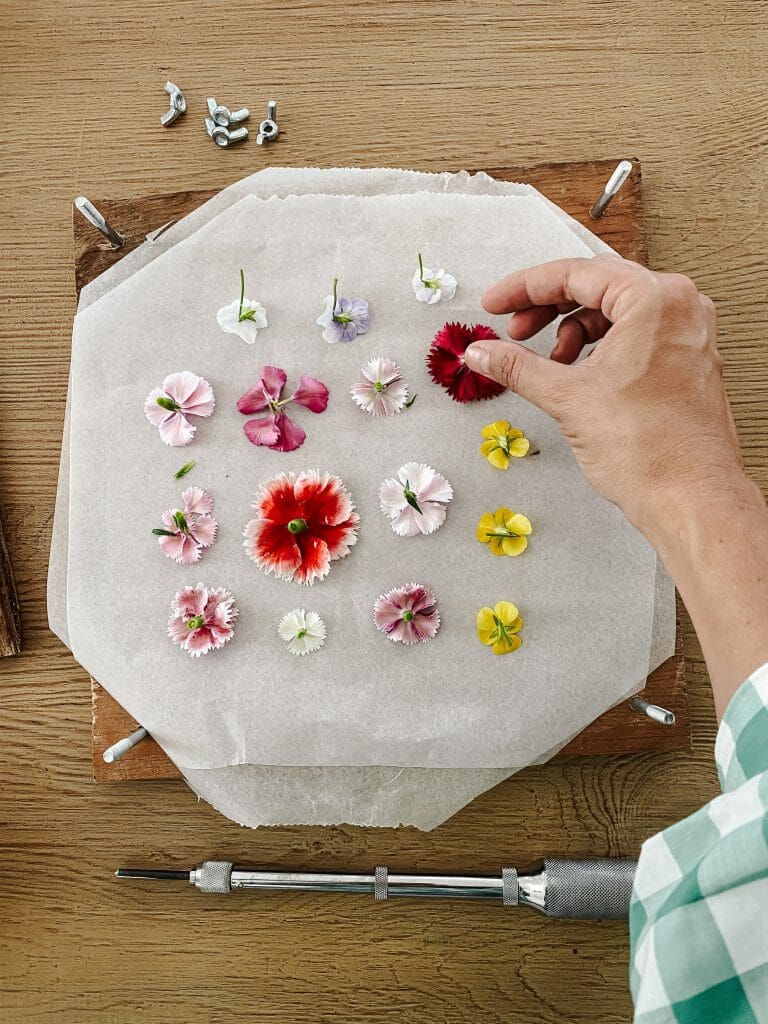
- Next, add a piece of cardboard (I used an old amazon box and cut the corners off) and then place some parchment paper or wax paper down, large enough to fold over.
- Place flowers in your press, and fold that parchment over.
- Add another piece of cardboard, then your second piece of wood.
- Use the wing nuts to screw pressure down onto the press, taking the air out.
That’s it! You’ve done it!
You can watch a video I made of this process on my Instagram here.
