How To Start Your Garden Today
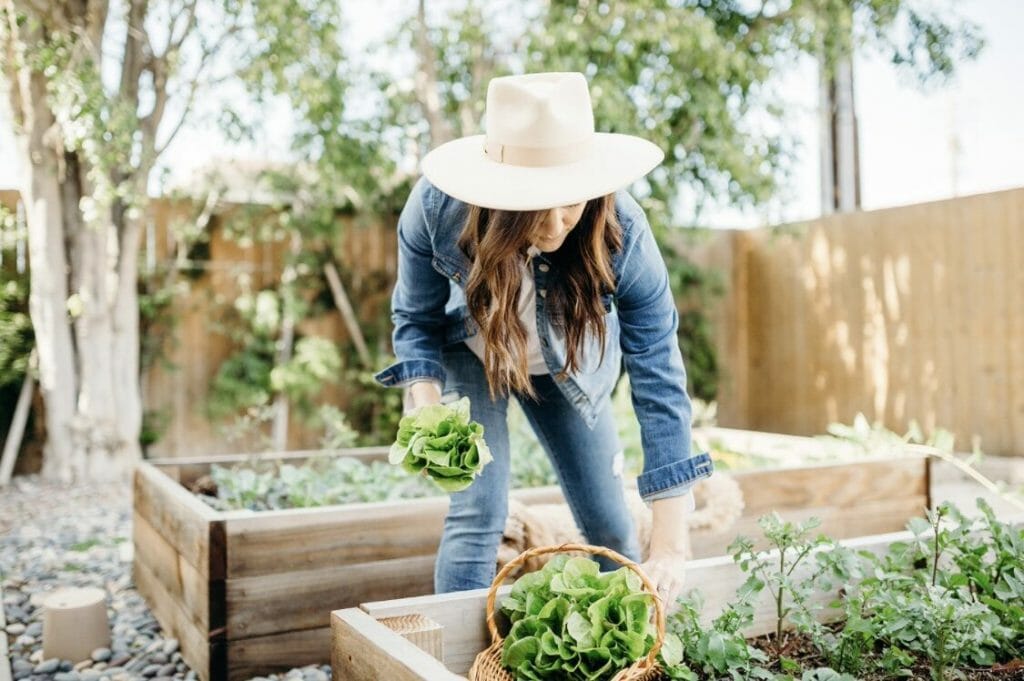
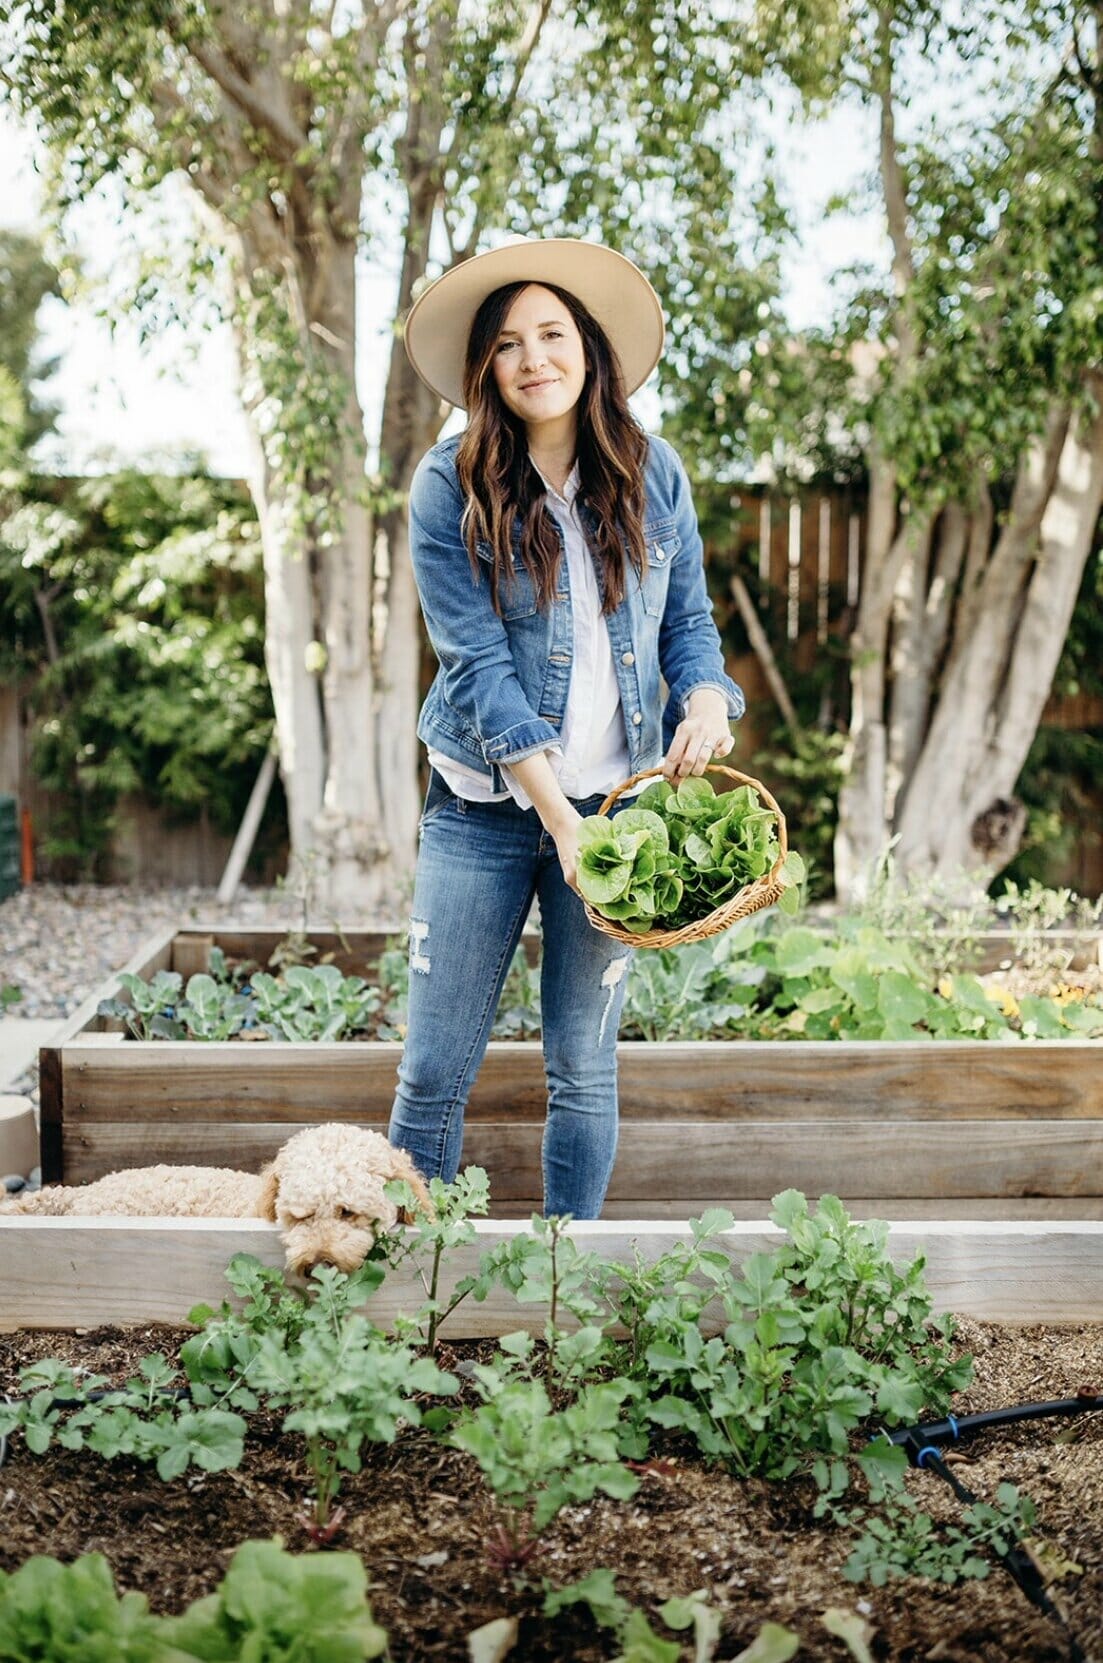
I’m not sure there’s been a bigger surge in Americans interested in gardening since World War II when victory gardens were being promoted and put in. Seasons of uncertainty inspire us all to become more self-sufficient, and we’re better for it.
If you find yourself wanting to start a garden, I’ll cut to the chase and give you a few ways to get growing. I also have a list of items for each approach that are all social-distancing safe! Amazon can deliver most of the goods, believe it or not!
The basics are really … basic.
- You need to find a sunny location with a minimum of 6 hours of sun
- You need some sort of container or bed for the plants
- You need soil
- You need water
That’s it, I promise.
Here are some more detailed ideas and lists for you, so that you can literally follow this step by step and get started.
I have also rounded up some other incredible blog posts for you about building gardens. There are many ways to do it, and I swear it’s easier than you think.
Here are three different takes on starting a garden from some of my favorite gardeners and friends:
Orta Garden has traditional how to garden information that is very to the point and informative.
She’s Rooted Home has great tips on starting a garden using veggies you already have in your fridge.
Seattle Urban Farm Co. is all about container gardening, and this is her one day setup information.
Here is some information based on my experience:
CONTAINER GARDENING
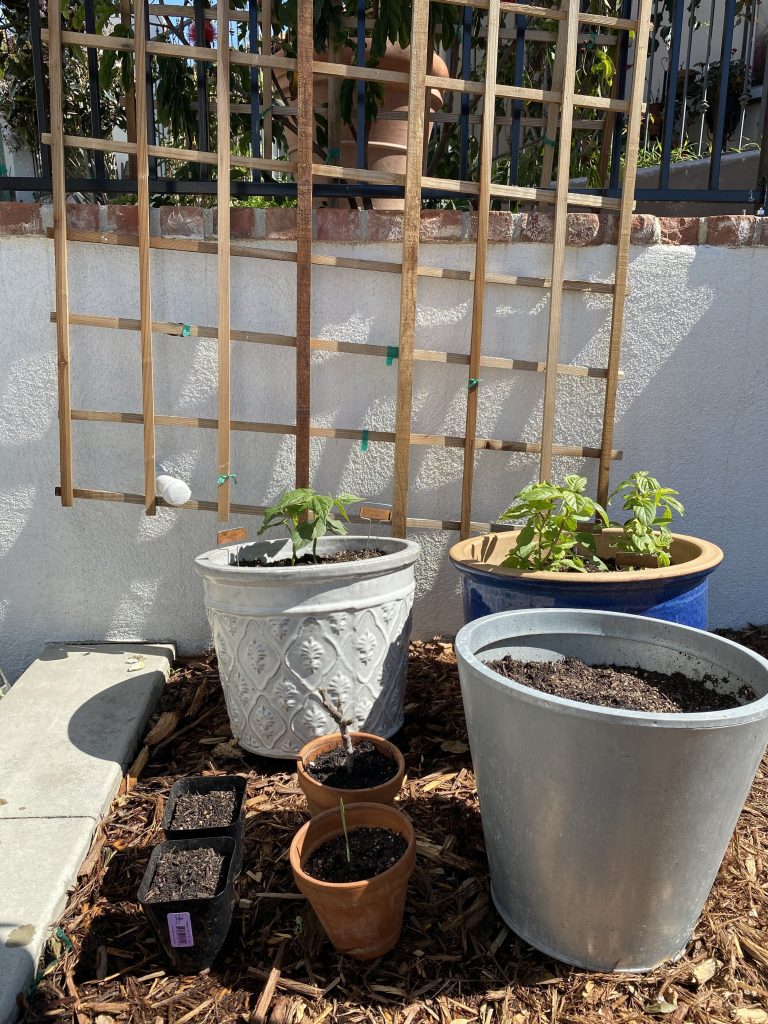
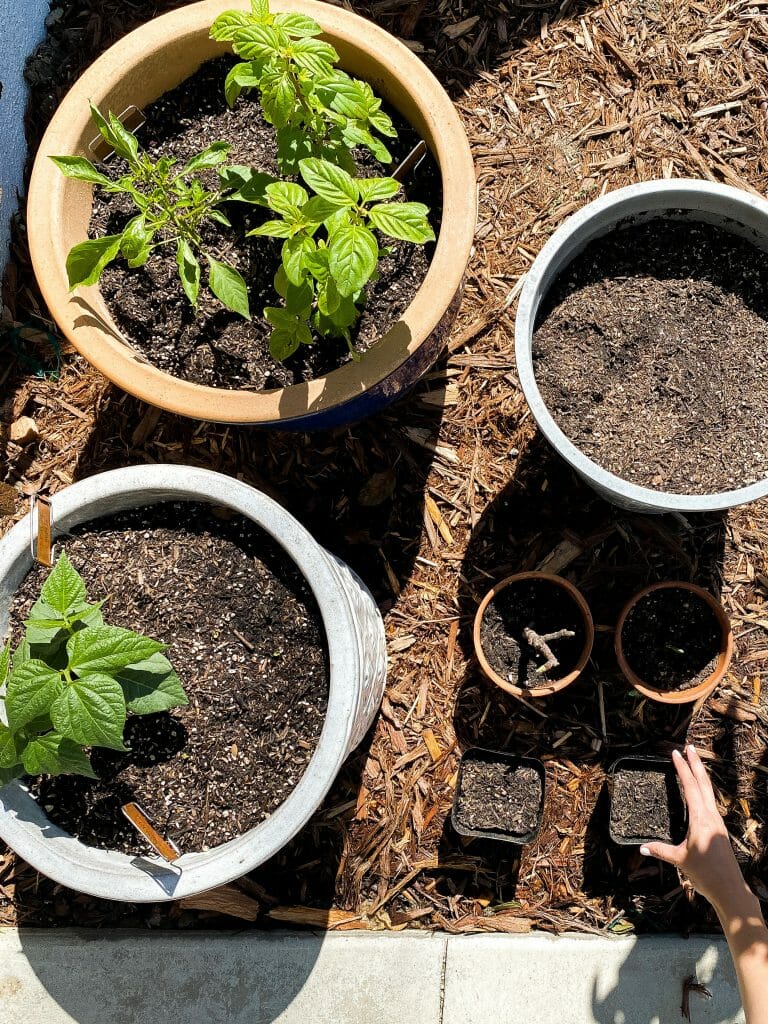
I have quite literally raided my own home for containers to plant in. We already had some pots, so that’s an obvious. But I also drilled holes into decorative pots and some bins we had laying around. Note on that, be sure to use a large drill bit on your drill (not the screw driver bit like I did at first haha!). Buckets will work, as will wine barrels, and old galvanized bins too.
All you do is add potting or raised bed soil to your container (fill to the top), and add your plants or seeds. You can then move your containers to be in the sun if need be. I have also purchased these rollers on Amazon to place on the bottom if you really need to roll the containers around.
I was able to plant the following:
- 1 bell pepper
- 2 basil
- 2 bush beans
- 6 radishes
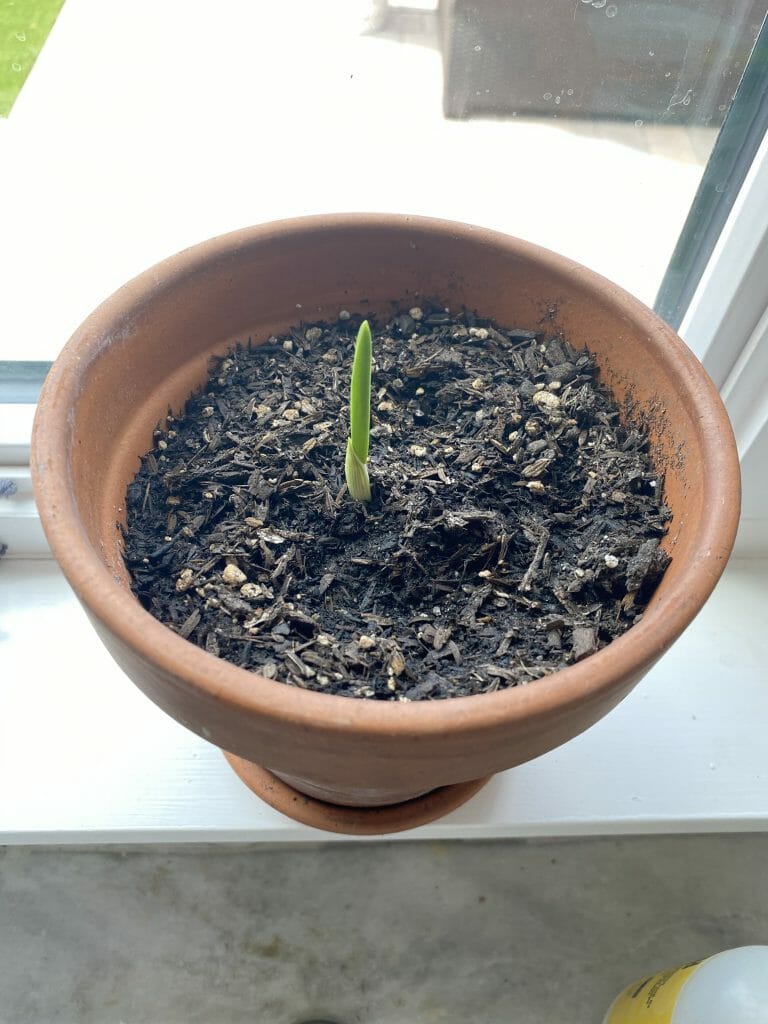
- Garlic
- Shallots
- Tomatoes
Also, I only needed one bag of organic potting soil (2 cubic feet of soil) for all of the above. Other tools that I recommend having:
Gloves
RAISED BED GARDENING
Building a raised bed garden is no doubt my favorite. You don’t need as much space as you think! I had two 4’x8’ beds for two years that produced dozens of different varieties of veggies each season! You can build a raised bed garden in one day. Yes you can!
It’s even possible right now during this COVID-19 pandemic because of curbside pickup and delivery. If you’re in Southern California Lowe’s is doing curbside pickup, Ganahl Lumber is doing curbside pickup and delivery. Armstrong Garden Center and Roger’s Gardens are doing delivery.
There are many many ways to customize, design, and build a raised garden bed. There are even more ways to fill it up with soil and plants.
You can even BUY a raised bed off Amazon. Yep.
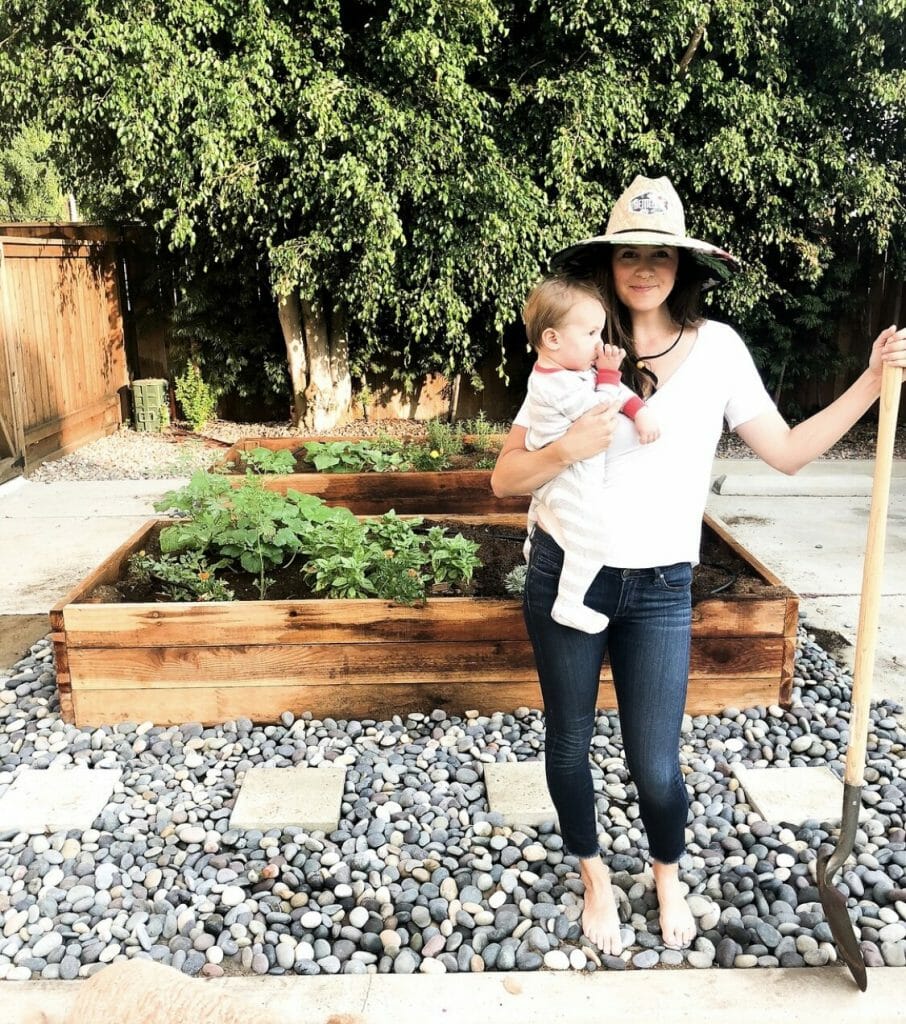
For what I did at my last home, below are the details. We had two rectangular beds that were exactly the same. We made sure to allow for 2 feet of walkway around the outside and in between the beds. We ended up laying down landscaping paper to keep weeds at bay around the edges, and then covered that with Mexican River rocks and some stepping stones.
Here is the exact process of building our raised beds:
First and foremost, I found the location for my beds, which got 4 hours of sun in winter, and 6 hours in summer (ideally it would have gotten more sun, but that’s the best I could do). I recommend finding a spot that gets 8 hours in summer. It was a 12 foot by 14 foot rectangle of dead lawn. It was the perfect raw potential.
Here is exactly what I did:
- Tilled the lawn which had basically died down to some old roots and dry soil. We rented a tiller from Home Depot to refresh the soil and flatten it, removing remnant grass roots.
- Flattened the dirt as much as possible by wetting it and then walking on it.
- Built two wooden raised beds, both 8ft by 4ft, 18 inches tall.
- We used untreated redwood boards. Three 2×6 boards on top of each other, drilled together in the corners. In those corners we had 4×4 boards 18 inches tall that we drilled into to create stability and support.
- Total to get from a lumber yard: 12 2×6 boards 8 feet long, 12 2×6 boards 4 feet long. 8 4×4 boards cut 18 inches long.
- Total 3” long wood screws: 48
- We used untreated redwood boards. Three 2×6 boards on top of each other, drilled together in the corners. In those corners we had 4×4 boards 18 inches tall that we drilled into to create stability and support.
- We had a sprinkler system in the ground from when the lawn was there so converted those into irrigation for our raised beds. We bought rolled up PVC pipe and punched holes in it, then put emitters in. We asked one of the guys at Home Depot what to do. BUT, I mostly had watered with a hose that had an adjustable nozzle so that I could delicately mist some of the plants when they were young. This required me to drag a 100ft hose through our house since we didn’t have a water spicket out front.
- We Then covered the ground inside the raised beds with cardboard. We used old moving boxes salvaged from a random stranger’s house (with their permission of course).
- We put 10 bags (2 cubic feet each) of organic raised bed soil into each bed. We bought the soil from Home Depot. We calculated how much we needed here.
- I then bought seedlings from Home Depot and Armstrong Garden Center and planted those. No seed starting the first time around. I did my research on companion planting to be sure all plants were in a bed that was best for their growth.
- Finally, I made a watering schedule (which ended up being daily watering for about 7 minutes each bed during the summer.
There you have it! Easy as pie, right?
We did not have experience, but did have help from a friend with a miter saw and clamps. He taught us to pre-drill holes before drilling the screws in, so that you don’t split the wood. That’s a pro tip! You do not need to have a saw though, as the lumber yard or hardware store you buy your wood at can cut it for you. You do need a drill, a measuring tape, and a level.
My hope of all hopes is that this inspires you to get growing. That it encourages you to take hold of this slow time in our history and use it to your benefit. We can all grow our own food and flowers, and subsequently you’ll grow in your own heart.
Overall, I just really want to encourage and inspire you to get started! I’m happy to answer any questions, so never hesitate to reach out!

