
Container Gardening: Strawberries, Pansies & Chard
Container gardening is a subject that I will never tire of because the options are endless. Inspiring people to use whatever little space they have is another huge passion of mine. I will take any sliver of sun that you get and use it to grow food!
Right now, it’s February in the garden and that has us right in the middle of Winter and Spring. This seasonal intermission is a great time for gardeners in Southern hardiness zones to squeeze in one more round of seedlings.
Inspired by my own desire to grow more, but having limited space, I took on this little container gardening project. It’s one small pot that’s 18 inches in diameter and about 24 inches deep.
I was able to get eight different plants in the pot, all of them being edible and beautiful!

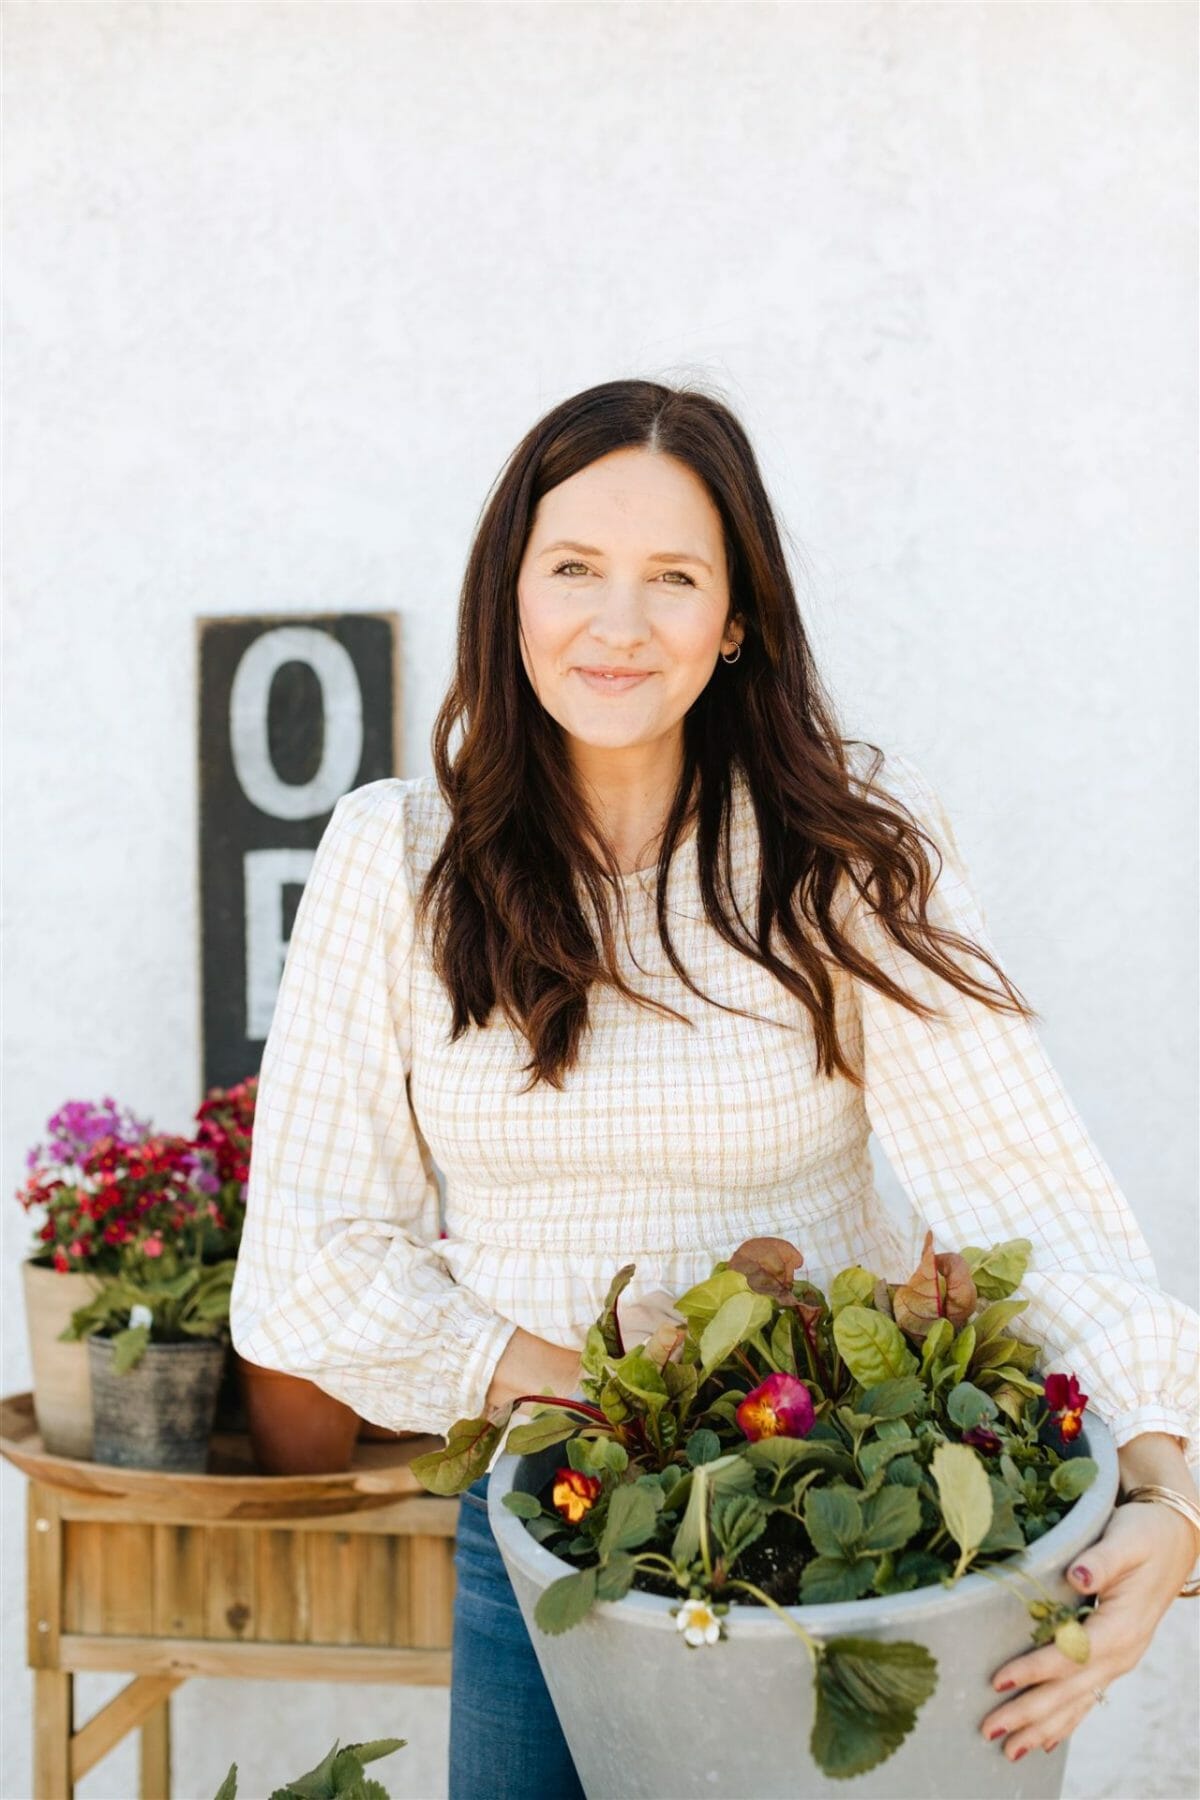
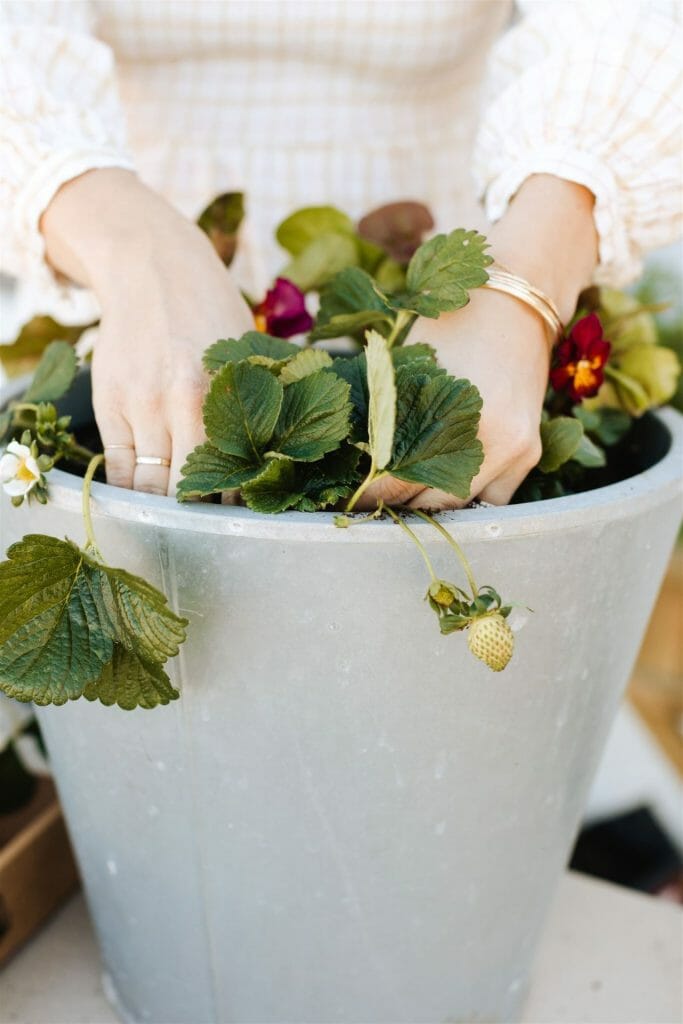
Tiny Container Garden
This tiny container garden has rainbow chard, pansies, and strawberries in it. The key to tiny little gardens and potted vegetable growing is to know what root depth will do well, what plants can be close together, and what plants will hang over an edge, to give even more space. I chose these three plants for those very reasons.
I have a post dedicated to which veggies are best for container gardening HERE.
How to Place Your Plants When Container Gardening
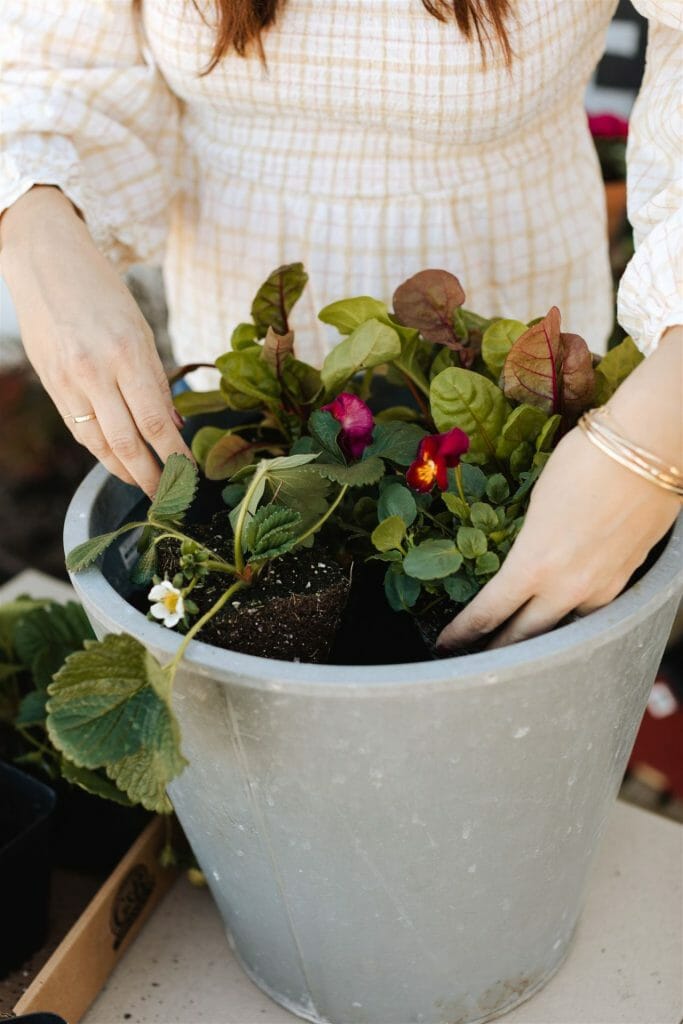
When container gardening, arranging your plants is all about space efficiency, access to the sun, and aesthetics. The rule of thumb with planting in any container is to feature items in these categories: thriller, filler, spiller.
The “thriller” is the tallest and most showy plant. This is a feature and should be planted either in the back or center of the arrangement. The “filler” plants are bushier, space fillers that often keep a uniform structure. The “spiller” plant is one that can spill over the edge of your planter, adding visual interest and character.
Chard is our thriller as it grows about 18 inches tall. Pansies are our fillers which have their happy faces and uniform leaves. They’ll stay the same sizes as when you plant them but will fill out just a touch more, which is so nice. Then our spillers are the strawberries, which love to hang over an edge.
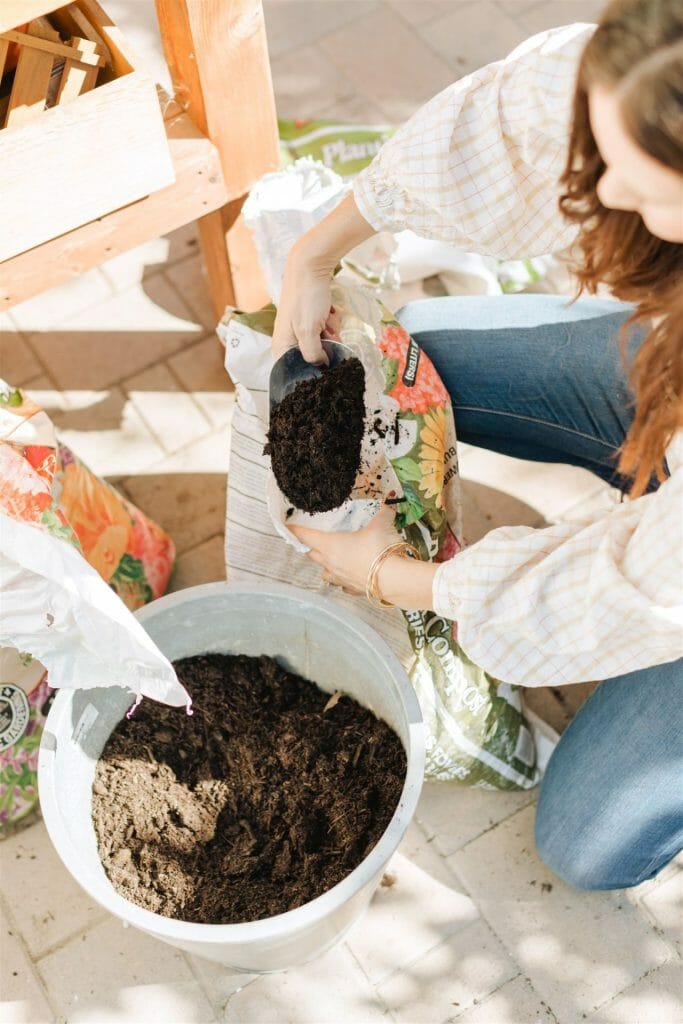
How to fill in your soil
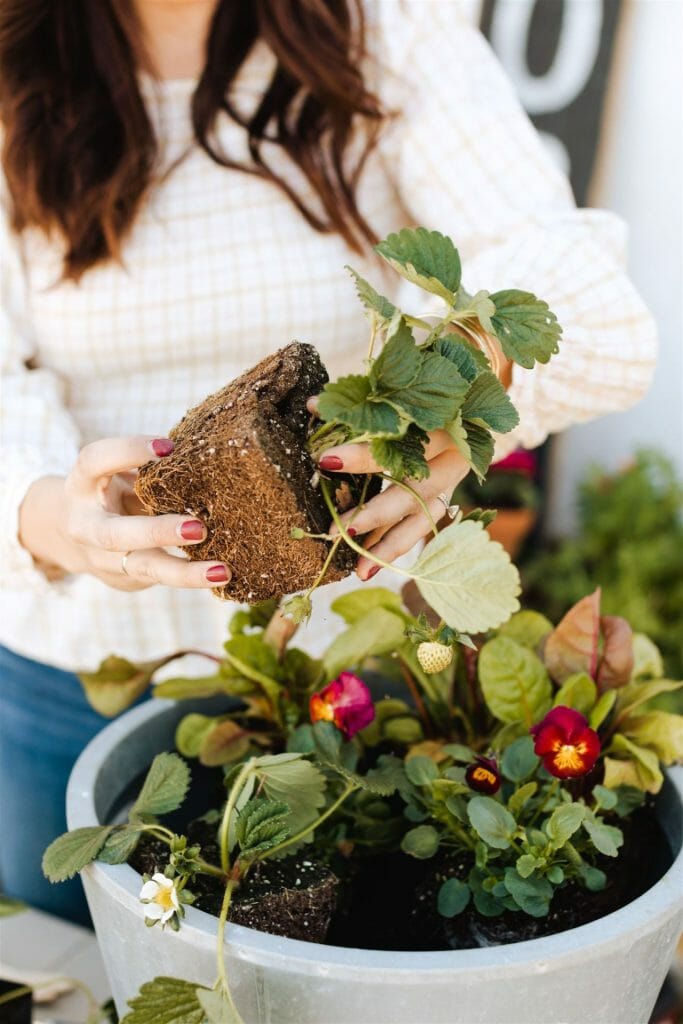
When potting up plants, I like to place soil in the base of the pot, up, leaving space for the depth of the root ball that I am planting. So if you have a four-inch seedling (like I do here), I fill the pot, leaving four inches of space at the top. Next, I loosen the roots of my plants, and set them in, adding a little soil at a time. I like to encase the plant in soil as much as I can, then add the next plants, and so on, so that they all fit and have soil around the root balls. We then go in after everyone is placed, and add soil in between the plants, filling in gaps.
In the past, I’ve filled pots all the way up with soil, then use a trowel to make a hole (like you would do in a raised ned), but realized that made it harder for planting close together and was a bit rougher on my seedlings. Either approach works just fine.
Potting soil is just fine for this, though I tend to add some compost and perlite when planting veggies into pots. The compost adds some nutrients and the perlite creates more airflow.
Caring for your tiny garden
Once your little one-pot container garden is planted, you’ll want to give it a deep watering, making sure water runs through the bottom. I placed mine out to get 6 hours of sun, but will move it in and out of the afternoon sun as the days lengthen.
I recommend watering every couple of days, allowing the soil to not be too water-logged.
This arrangement is all edible, and perfect to gift to a friend (housewarming gift alert!). If creating for yourself, the veggies will all transition beautifully into Spring and get you a little buffer crop of yummy greens and a bonus of fruit in just a month or so!