

Our Back Patio Refresh
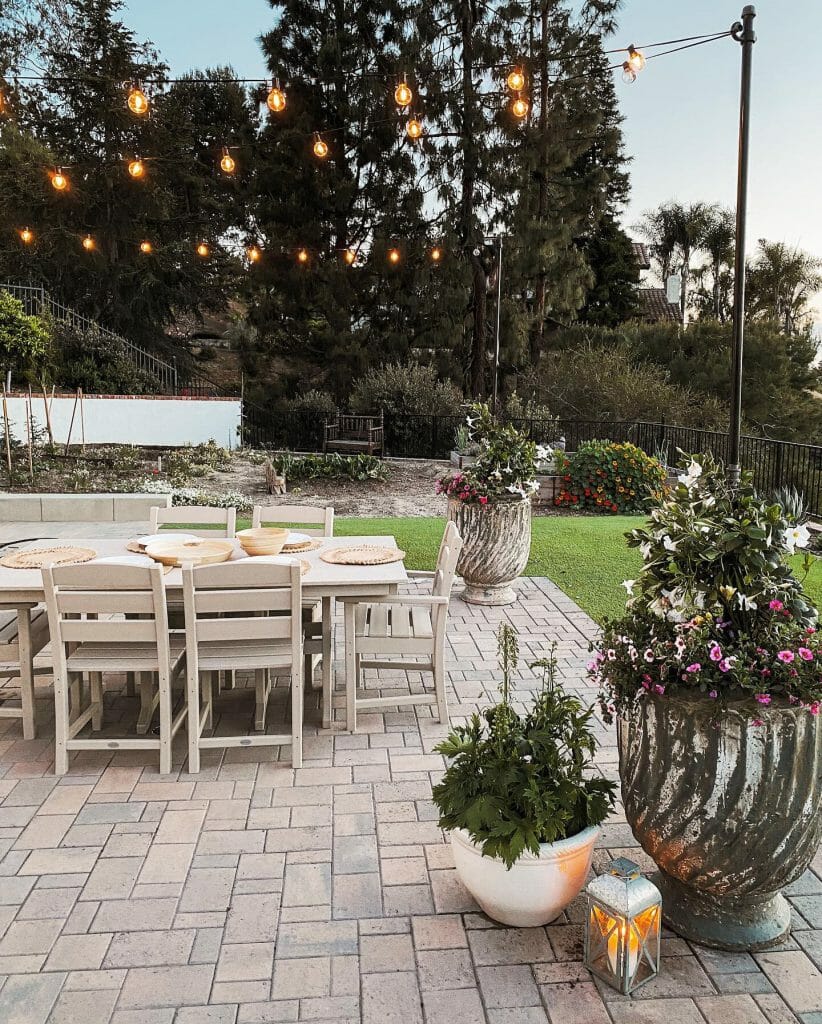
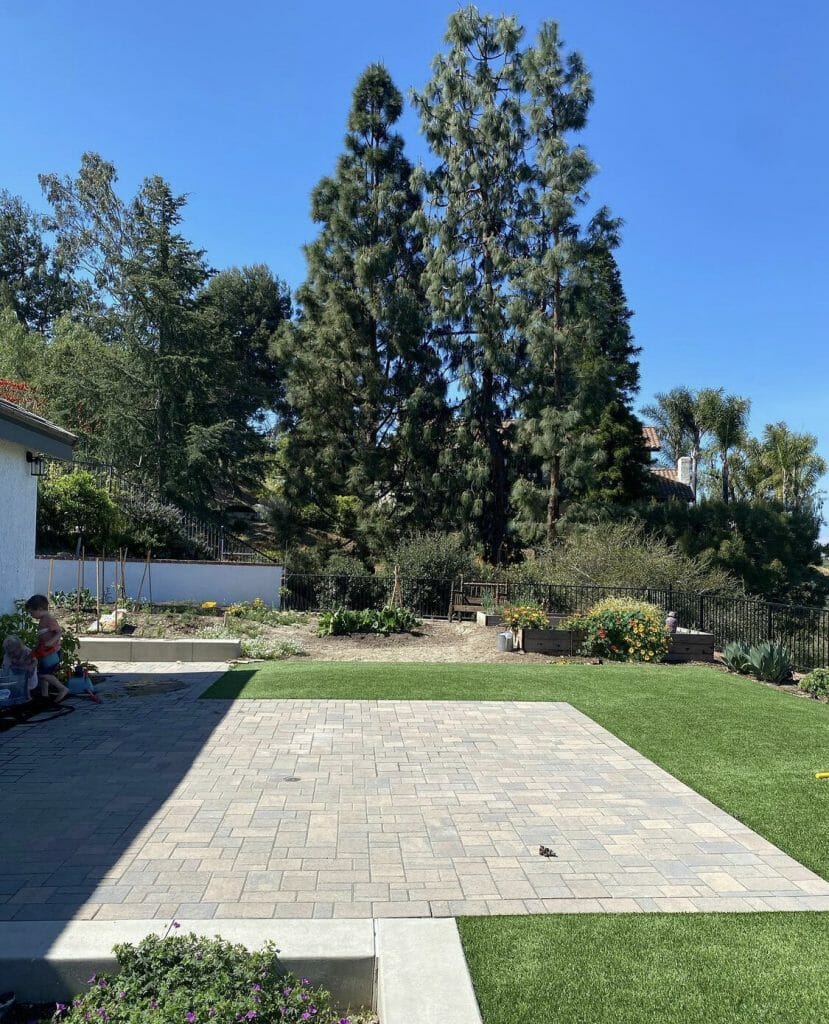
We knew when we moved in a year ago that we wanted to make an outdoor living room/cabana type of space, but as life moves, so do the plans for large-scale renovations. After a full year of leaving this space completely empty, I decided that it was time for a temporary dining area. Our weather is too nice, the sunsets too gorgeous, and the years too short.
My first step always is … Pinterest. Of course (you can see the board I made here)! I started perusing patio inspiration and realized quickly (to no one’s surprise) that I like a Mediterranean/ European vibe. Something very old world and natural, easy and rustic yet a bit elevated.
I decided that some large pots would anchor the space, and that we needed lights. A table of course, was the biggest element of it all, and I was so lucky to have found the perfect option for that.
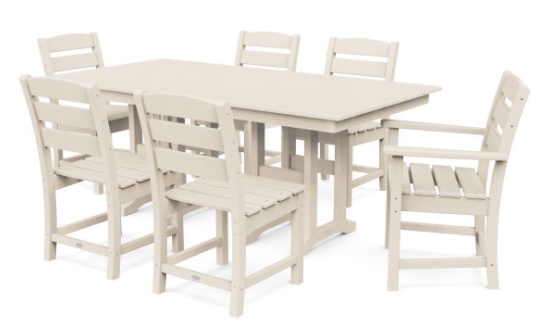
I worked with Polywood to settle on the exact table and color, and then build the rest around that. They are an incredible company that rescues landfill-bound and ocean-bound plastics, turning it into their “lumber”. The quality is incredible, the products are top rate and durable, which for me is crucial with our salty weather (we’re 10 mins from the ocean). It’s the perfect outdoor furniture – I truly can’t say enough good things!
Table Details
Polywood, Lakeside 7- Piece Dining Set
The pots
The pots that I found were from my favorite local nursery, and are pretty huge. Almost 3 feet tall! I loved that there’s a bit of a green tint to them, adding some color. The urn shape is something I am very drawn to, and though a lot of the built-in elements of our yard are more modern, these really did add so much charm and don’t look out of place.
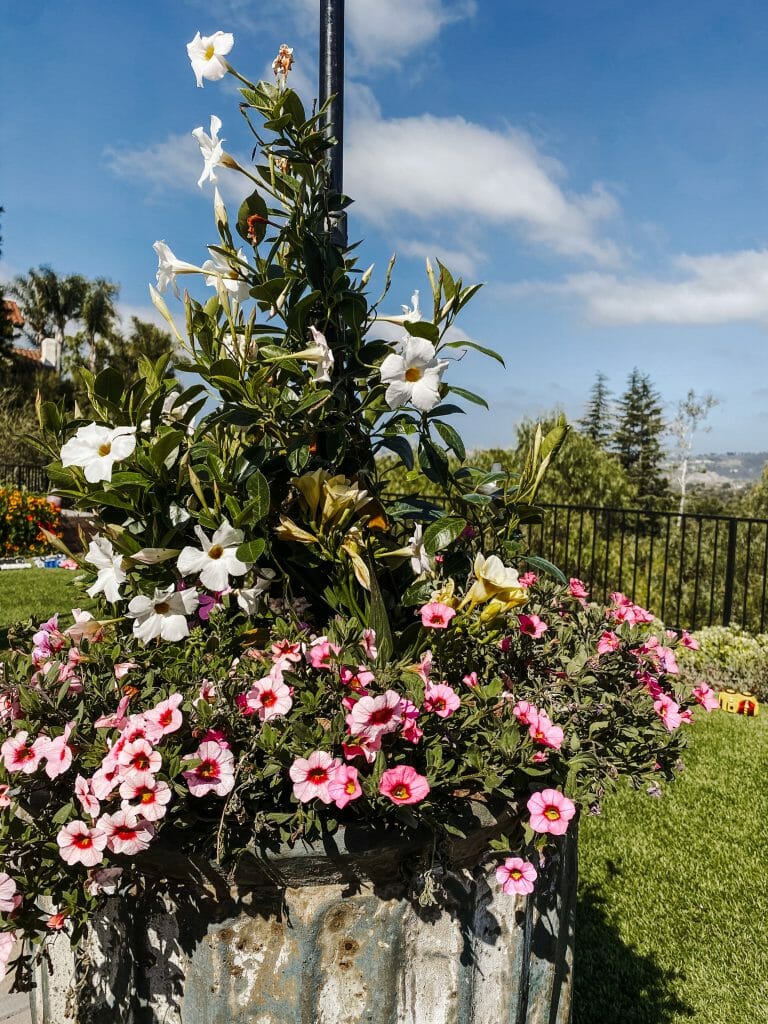
The flowers
The design philosophy for filling pots is to have a “thriller, filler, and spiller”. Something big that thrills and adds height, something full that creates a lush center, and something to spill over the edge of the pot. I chose these climbing Mandavilla to create some thickness to the poles and cover them. I then added some yellow freesia as a filler that has an amazing fragrance when you walk by and plays off the center of the sweet petunias, which are my spillers.
Lights and poles
We learned a lot from this. My husband was so patient with me, and let me prove to myself that doing things the right way matters. I wanted to just jam some cheap poles into the pots and throw gravel on top. Seemed simple, and it was. But it wasn’t sturdy and when we added bistro lights, the tension bent the poles, and the wind did too. So, we had to buy thicker poles, and cement them into pots.
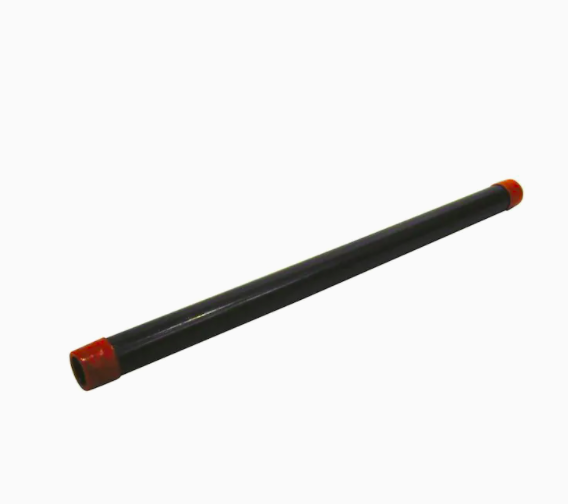
These are the exact poles we got, which are 4ft tall (we put two together) because we wanted 8ft in height. 10ft seemed too tall for our roofline. And we spraypainted them to make them black, as there was white writing on them.
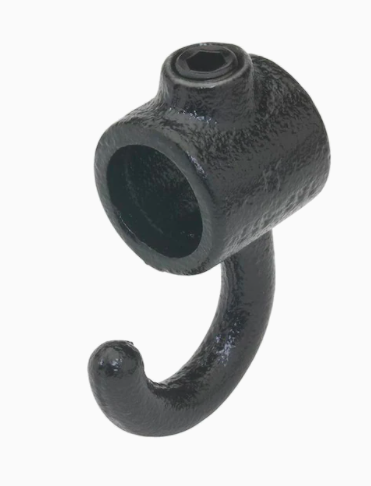
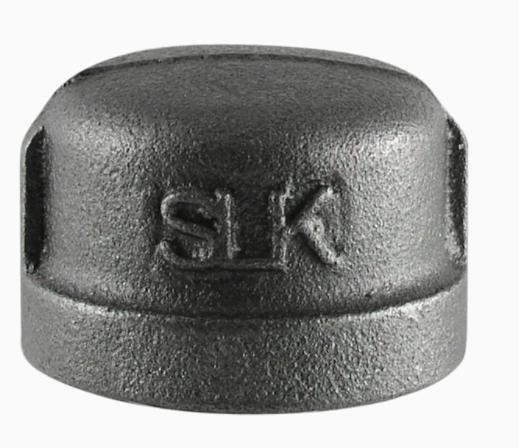
Then we added cap fittings and a hook to complete the look!
Now that our back patio is done, I wish we would have done it sooner! The planning really took the most time, but the rest was done in a day. It adds so much charm and function to the backyard, and we really love it.
If you have further questions, leave a comment here, and Ill get back to you.