Building a Temporary Garden with Soil Berms
Our garden is under construction, and while I want to take my time making it exactly what I want, I also wanted to plant for Fall. Autumn is our season in zone 10 – it’s basically our Spring, so I just couldn’t NOT plant.
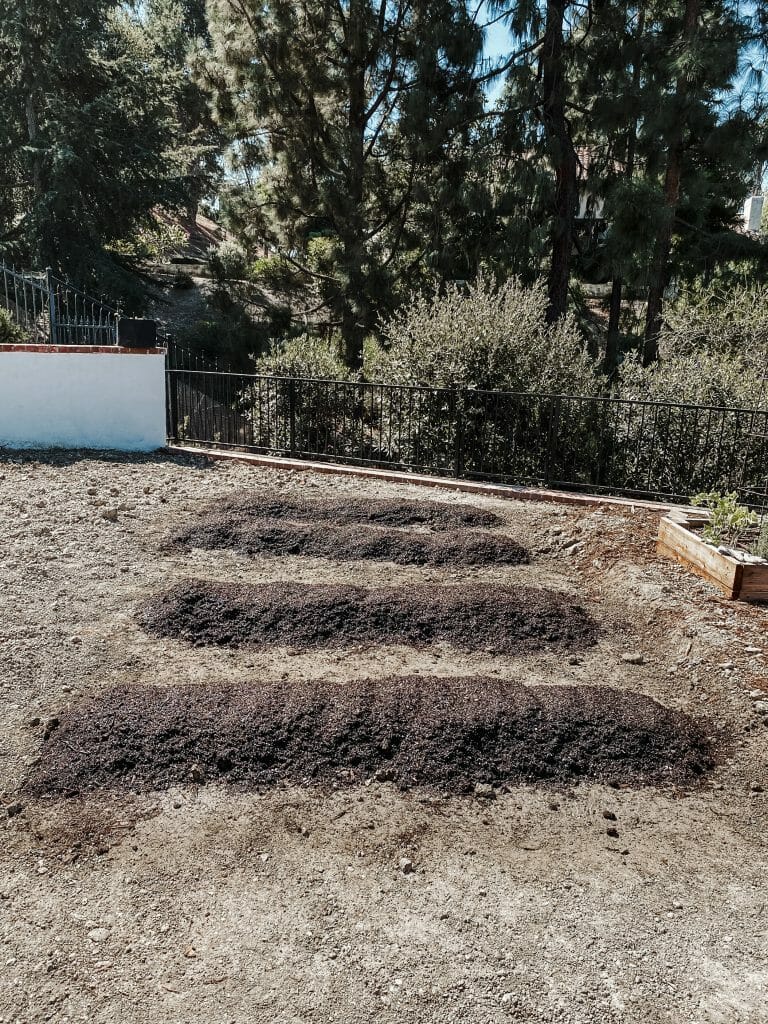
My idea then became: “let’s flatten some land and build berms (raised areas of land) that will hold the plants”.
Easier said than done. However, here is what I did, should you want to incrementally build your garden and not miss a season in the garden.
STEP ONE:
Find your plot and grade it.
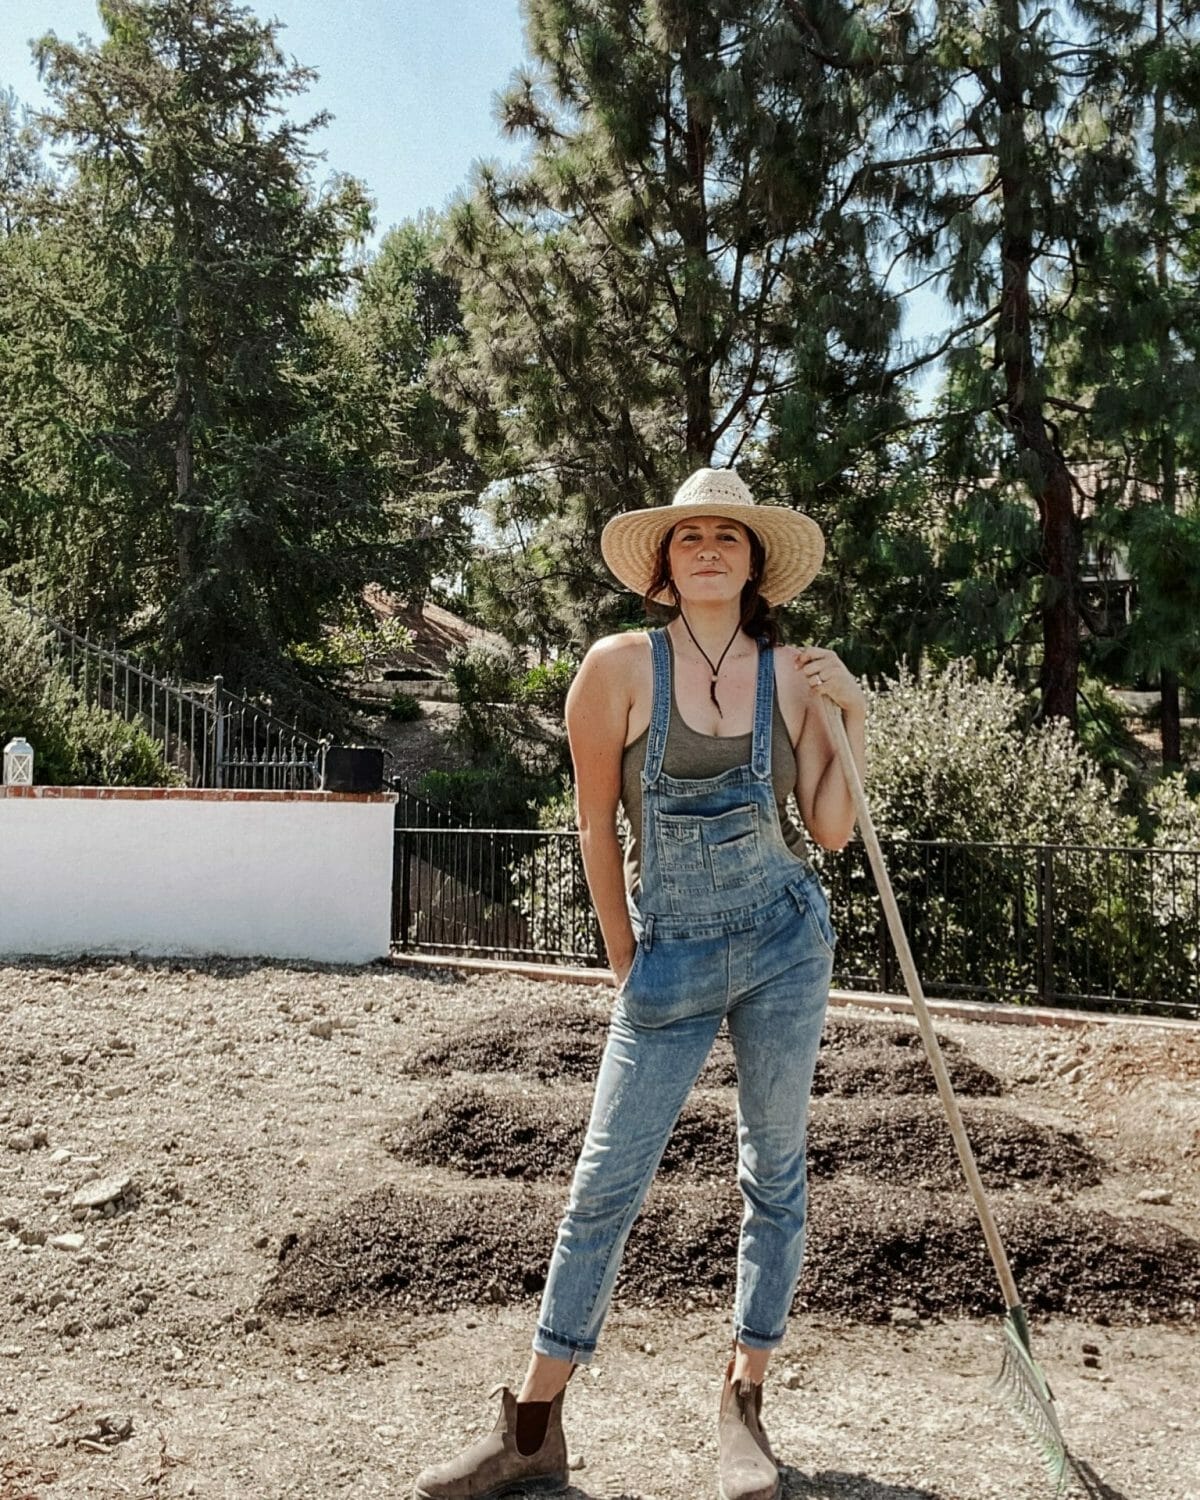
I decided to cut a chunk of land away, to create a flat space in between some fruit trees and our U-shaped bed. This was more work than I had realized, so be aware of that. We removed 10 TONS (literal tons) which is 20,000 pounds of soil. It cost nearly a thousand dollars.

STEP TWO:
Work that new soil space.
I added gypsum to the space on the dirt that would be a berm. I used a trowel to loosely work it into the soil to give it a headstart.
Next, I added some liquid fish fertilizer (I used AgroThrive) to further breakdown the soil and also give it a boost of nutrients. I then added fresh soil, in this case some organic potting soil mixed with worm castings.
STEP THREE:
Wet it down so that the soil gets a bit compacted and you can start to plant.

STEP FOUR:
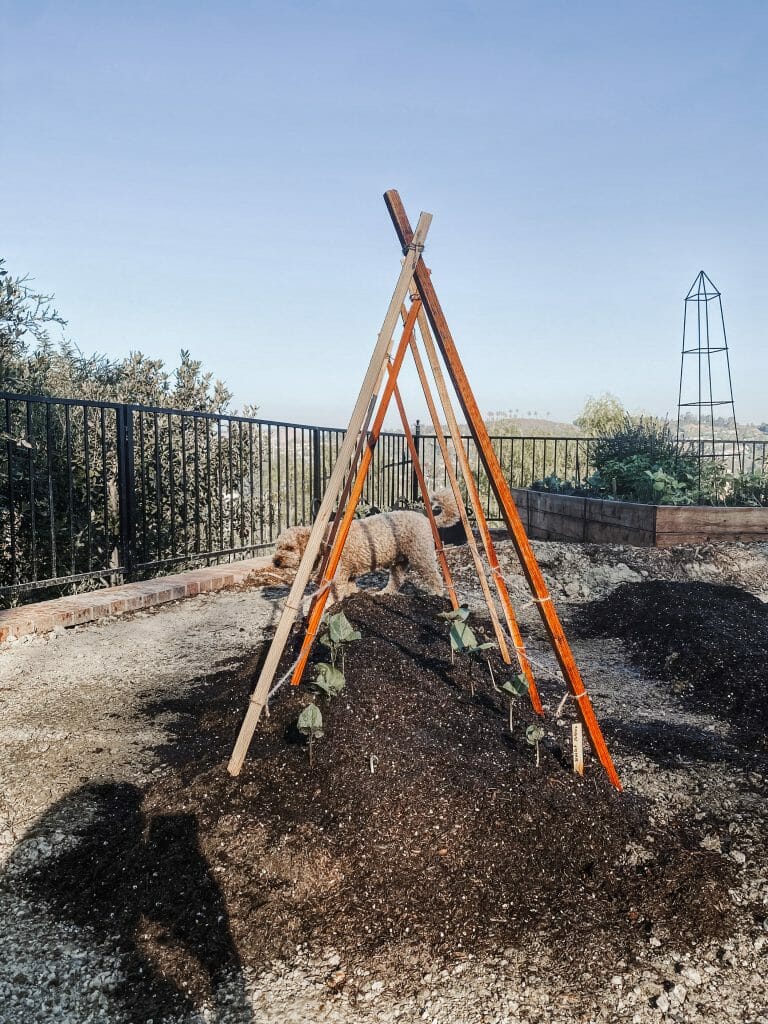
Build any supports you may need. I added two trellises for beans and peas that will be easy to remove and adjust as needed.

STEP FIVE:
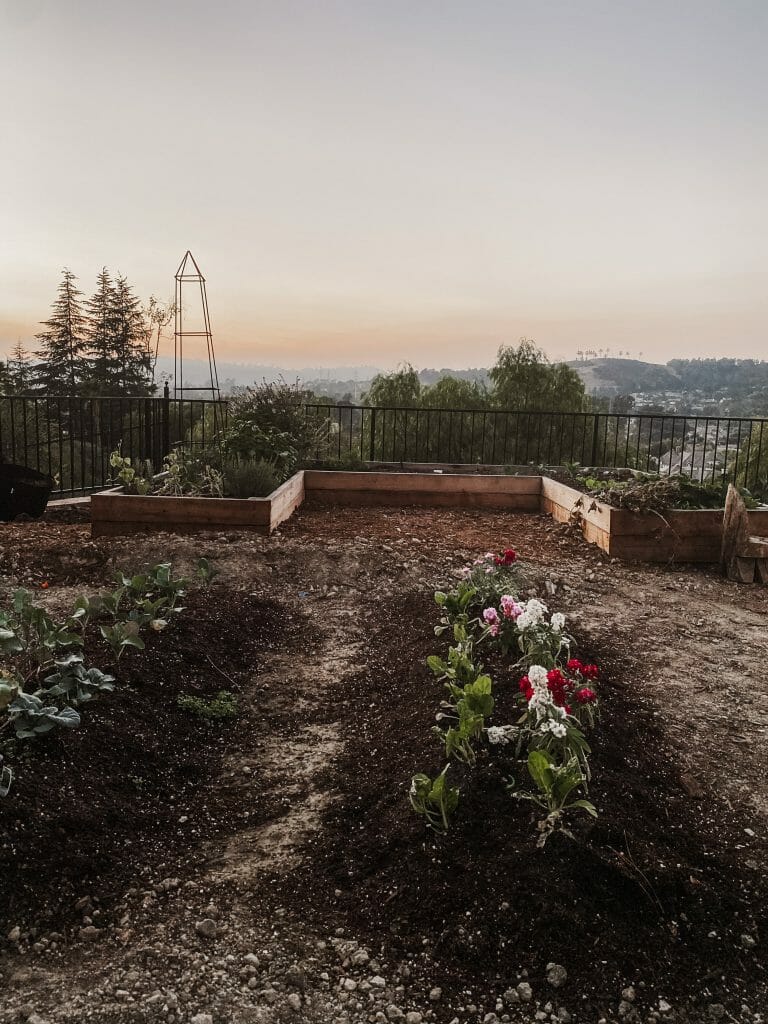
Plant the plants and pray! This is the fun part, but also a little challenging since the berms have sloped edges. Be sure to give your plants space to thrive, but also don’t creep over on that edge too far, in case any natural erosion occurs.
This temporary garden is a great way to get to know my space better, nourish the soil, and create a stop-gap in the seasons. We will be doing a full over-haul early next year, so this keeps costs low and morale high around here! I highly recommend this approach should you find yourself in any yard transition.
