
Vermicompost 101: How to Compost with Worms
We. Got. A. Vermicomposter!!! Vermicompost is composting with worms. The worms break down food scraps and turn them into worm castings (worm poop), which is the most amazing product to put in your garden soil.
We’re going to break down what it is and how to vermicompost, as well as compare it to traditional composting. Being in a suburban/urban setting, space is the largest challenge for us. Vermicomposting is very space-efficient, and in relation to the amount of garden space I have, it’s very in balance.
However, if you have the space, traditional composting may be for you – or … both. Hehe. Both is always a good idea!
The benefits of vermicompost are many. It improves soil aeration, enriches the soil with enzymes and microorganisms, improves water holding capacity, and enhances plant growth and germination rate, and has up to 20 times the microbial activity than the content that enters the worm (hint hint, why it’s better than regular compost).
How do you vermicompost?
- Vermicompost is a way to create organic fertilizer and soil amendment
- You use worms to break down food scraps and organic materials (like paper, cardboard, and egg cartons)
- The type of worm matters. You’ll need red wigglers, white worms, or other earthworms
- You’ll need a bin or set of bins to house the worms in, and to create a bed of materials for them to live and eat in
- Your recepticle should have a way to catch any liquid waste as well.
- The bedding material can be a mixture of compost, organic soil, food scraps, paper, pumice, coconut coir, and cardboard
- Your worms need to be fed every few days and kept at a temperature between 70 degrees and 40 degrees

Getting Started
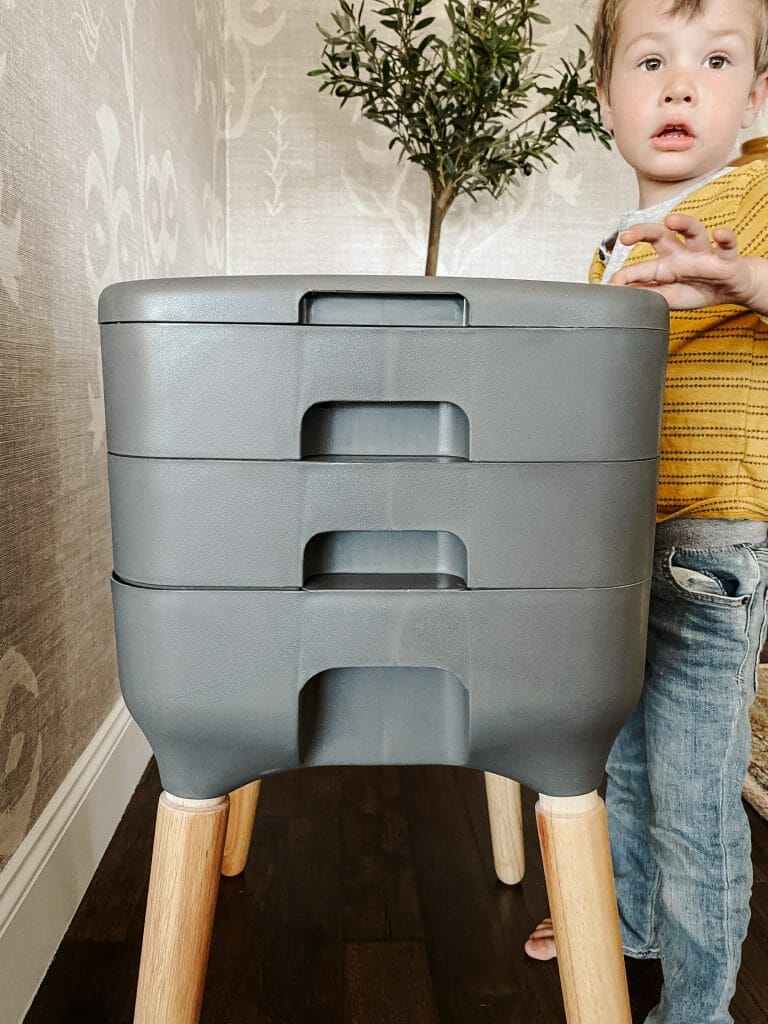
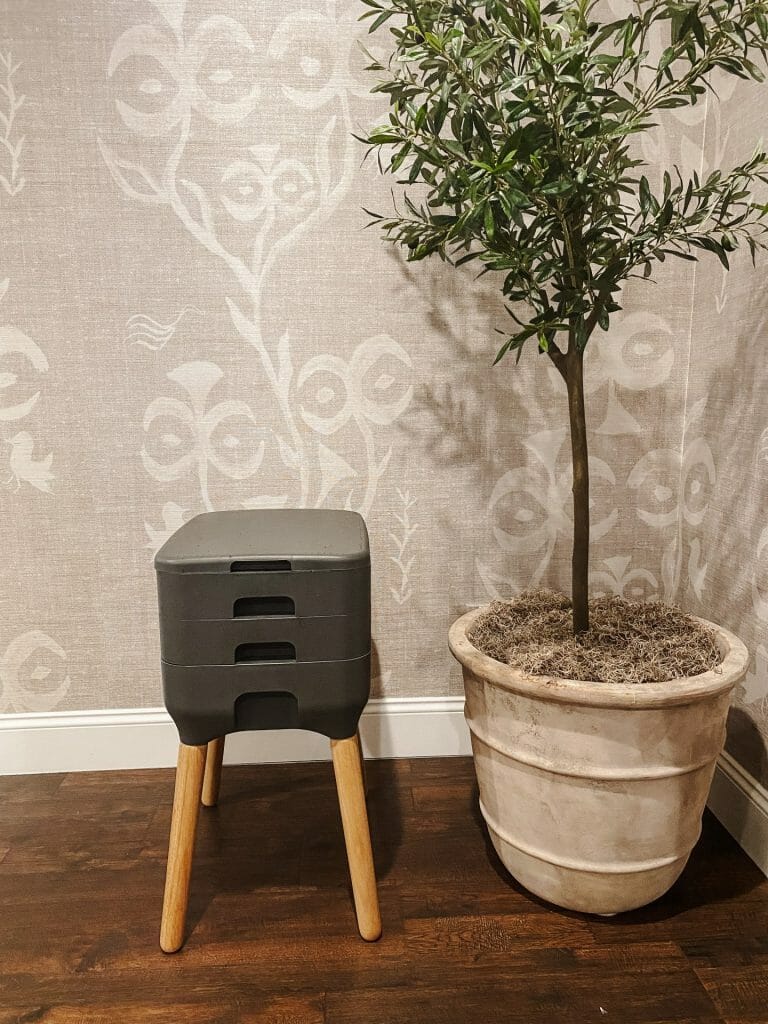
To get going on my vermicompost journey, I got a worm composter set from Eartheasy. It is cute looking (I know, but yes this matters to us), small, and so efficient with a built-in bin system for the worms. They give you all the instructions for caring for your worms as well.
For us, vermicomposting will be getting us closer and closer to living sustainably, to teaching responsibility to the kids, and affordably feed the garden with quality fertilizer.
Once we got our worm composter, we immediately made the space suitable for our worms by adding about 2 cups of compost, 1 cup of seed starter mix (because I didn’t have pumice on hand), 1 cup of shredded paper, and 1/2 cup shredded cardboard.
Next, we wet all of that down and mixed it up to be the consistency of a moist sponge that’s been wrung out.
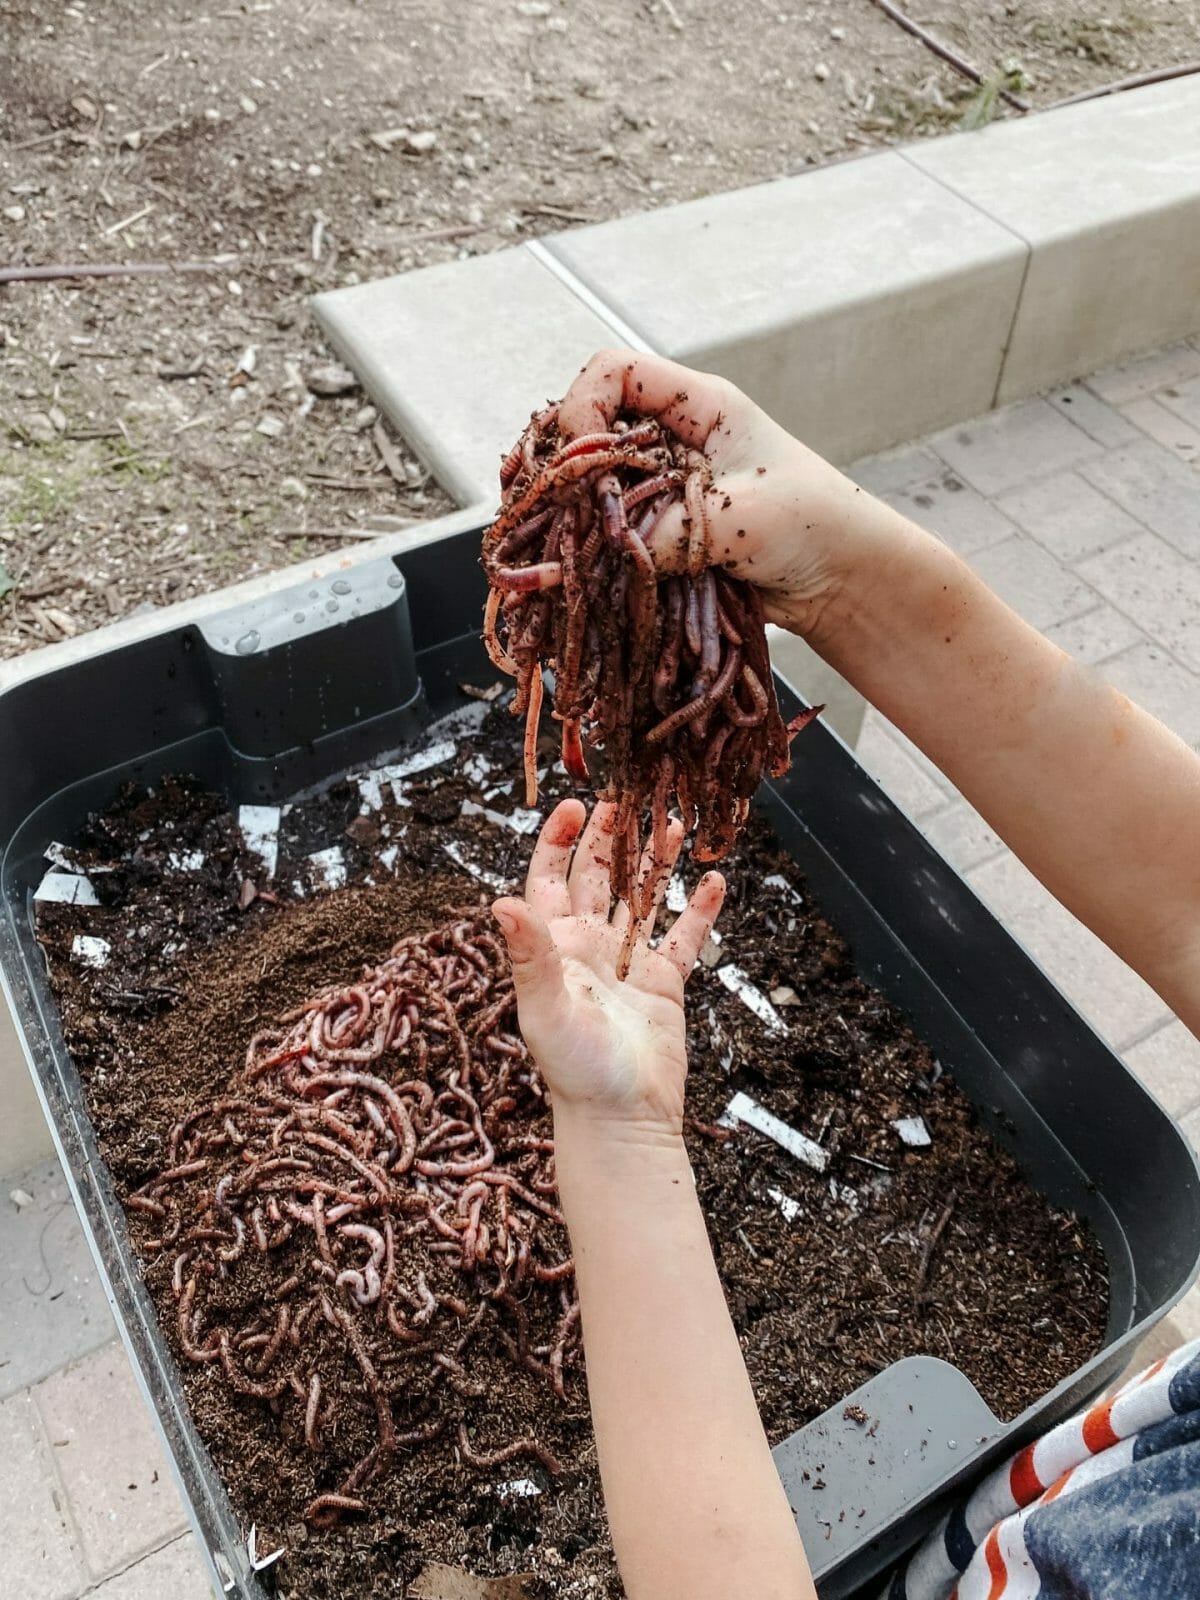
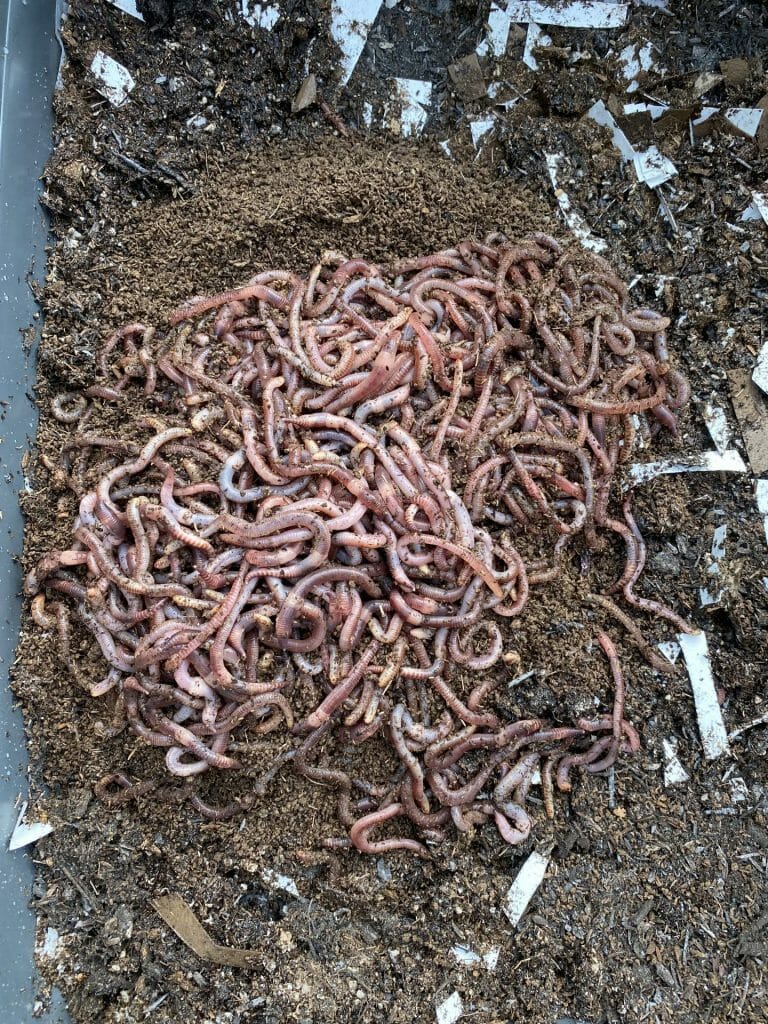
Once we received our worms, we added them in and fed them the next day with about 1/2 cup of food scraps. Strawberry tops some egg leftovers and pumpkin scraps. We leave a little bin out o the counter to collect these, feeding the worms every few days so as not to overwhelm them.
It will take at least 3 months for us to see some finished and fully processed vermicompost, but I am all for it. Traditional compost takes months and months too, so this is worth the wait. Once we get into a rhythm, I hope that we can eliminate buying worm castings at all, as I add those to all of my garden beds each season.
Vermicompost vs. Compost
When I refer to traditional compost, what I am talking about is either a purchased bagged compost or compost that you make in a pile out back. In a suburban setting, few people have the space to dedicate to a large compost pile or bin. We’ve tried using a tumbler, but they fill up fast and take so long to actually turn into compost. We’re still working at that, but it’s not been enough of an output to actually reduce cost for us at all.
From what I’ve researched, vermicompost is a bit superior to regular compost, as it is higher in nitrogen, phosphorous, and potassium (NPK). It improves the soil structure greatly and increases the ability to hold onto water. Additionally, vermicompost has worm mucus in it, which helps plants hold their nutrients better and longer. As mentioned above, the microbial activity in worm castings is 10-20 times higher than the microbial activity in anything before a worm eats and digests it. That’s some worm magic right there!
How to use your compost
Once you have your vermicompost, you use it like any other fertilizer – as an additive, not a pure growing medium. However, you only need to add vermicompost every 2-3 months as opposed to most fertilizers which require application every 2-3 weeks. Simply mix it into the top layer of soil, or apply it in a side-dressing manner, scratching it into the surface of the soil near a plant that needs a boost.
I have a great post here about soil and amending beds where I chat about worm castings.
Caring for your worms
Taking care of your worms is fairly easy, requiring that they be fed at least every 10 days or so. Feed them no more than 1″ of food all over – however, I just add very little bits every few days. It’s important though that they are a bit monitored to see if they’re either too wet (and not moving/drowning) or too dry – both of which can lead to them trying to escape. Also if they don’t like the food, they may try to escape as well. The food could be spoiled, too acidic, or too big.
It’s important not to feed them fat, animal products, highly acidic food, or processed food.
I am so excited to be on this vermicompost journey, and hope that it encourages you as well! I highly recommend the Eartheasy worm composter, as we LOVE ours! Also, I have a coupon for you: BAILEY10 to use on their website.